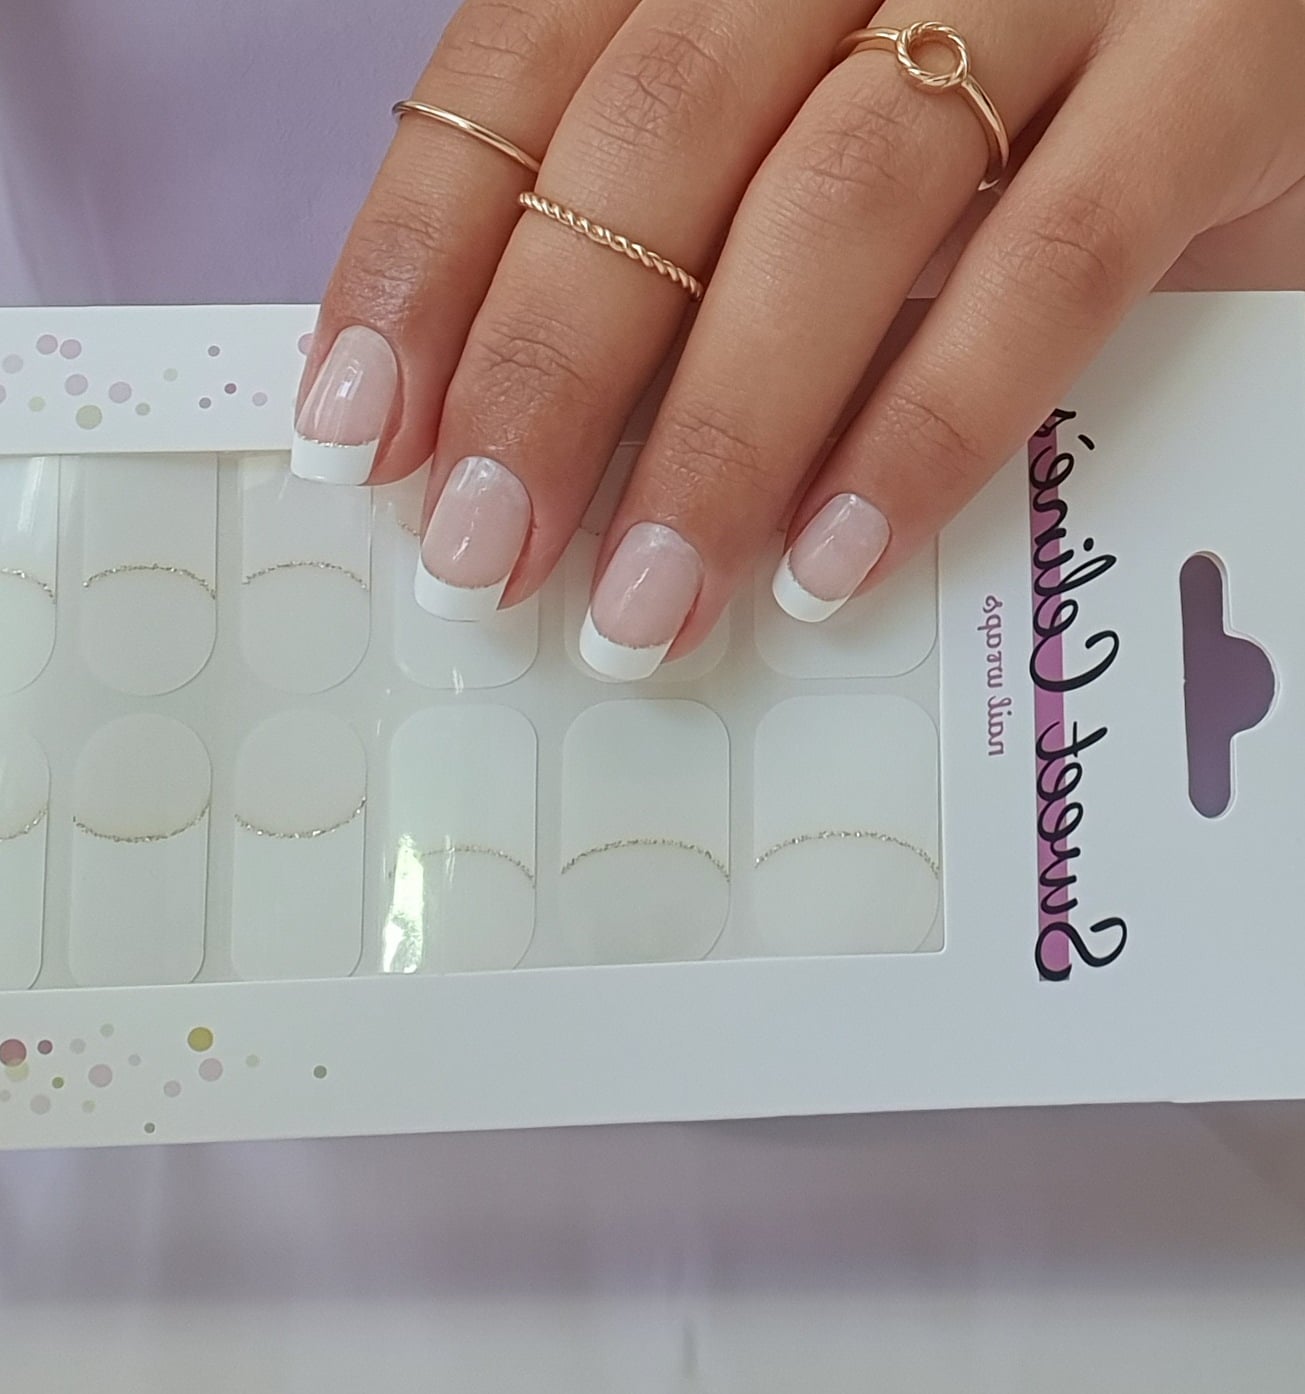
How to Achieve a Flawless Nail Wrap Application: Say Goodbye to Bubbles and Creases
- Sina Telatar

- Aug 27, 2024
- 4 min read

Nail wraps are a fabulous way to get salon-quality nails at home, but they can sometimes be tricky to apply. One of the most common frustrations our customers share is dealing with bubbles and creases during application. We totally get it—nobody wants to feel like they’re wasting their time or money on a less-than-perfect manicure.

But don’t worry! We’ve got you covered with some expert tips and tricks to help you achieve a flawless finish every time. Whether you’re new to nail wraps or a seasoned pro, these tips will help you avoid those pesky bubbles and creases and make the most out of your Sweet Sinem nail wraps.
1. The Importance of Proper Application Technique
First things first: your application technique is crucial. Bubbles and creases often happen when the wrap isn’t smoothed out properly during application. Here’s how to get it right:
Use a Silicone Cuticle Pusher: After placing the nail wrap on your nail, use a silicone cuticle pusher to press the wrap onto the nail surface. This tool is excellent for smoothing out the wrap and ensuring it lays flat without trapping air underneath.
Gently Pull and Reapply if Necessary: If you notice any bubbles during the application process, don’t panic! While the wrap is still fresh, you can gently pull it back up and stretch it slightly. Then, press it down again, making sure to smooth out any air bubbles as you go. Just remember, once the wrap has set or dried, pulling it back up can cause damage to both the wrap and your nail, so it’s best to make adjustments early on.

2. The Role of Top Coats: Compatibility Matters
Another critical factor that can cause bubbles is the top coat you’re using. It might surprise you to learn that even a high-quality top coat from another brand could lead to bubbles in your nail wraps. Why? It all comes down to chemical compatibility.

Stick to the Same Brand: Nail wraps are essentially pressed nail polish, and the ingredients can vary from one brand to another. When different chemical formulas interact, they can sometimes cause air bubbles to form. That’s why we recommend using the same brand for both your wraps and top coat. At Sweet Sinem, we’ve tested multiple manufacturers to find the best top coat for our wraps, ensuring a smooth, bubble-free finish every time.
Test for Compatibility: If you love experimenting with different products, we suggest doing a test application before committing to a full set. Try using your top coat on one nail to see how it reacts with the wrap. If bubbles appear, it’s a sign that the products might not be compatible.
3. Base Coats: Why They Might Not Be Necessary
While some people use a base coat under their nail wraps, this can actually contribute to bubbles. Here’s why:
Waiting for Base Coats to Dry: If the base coat isn’t fully dry before applying the nail wrap, it can create a liquid layer that traps air, leading to bubbles. Even if you wait for a day, there’s still a risk due to the potential incompatibility between the base coat and the nail wrap.
Chemical Compatibility Issues: Just like with top coats, the ingredients in a base coat can sometimes react with the nail wrap, causing bubbles. At Sweet Sinem, we believe you don’t need a base coat with our wraps. Our products are already vegan, non-toxic, and gentle on your nails—no need for an extra layer!

4. Our Commitment to Quality at Sweet Sinem
At Sweet Sinem, we’re passionate about making your nail wrap experience as seamless and enjoyable as possible. We know how frustrating it can be when your manicure doesn’t turn out as expected, which is why we’ve gone the extra mile to ensure our products work perfectly together.
We carefully selected a top coat that complements our nail wraps, so you don’t have to worry about bubbles or creases. Our wraps are designed to be easy to apply, with no need for nail art expertise. Just peel, stick, and enjoy up to 14 days of vibrant, flawless nails!

5. Final Thoughts: Enjoying a Perfect Manicure Every Time
By following these tips, you can achieve a smooth, flawless manicure with Sweet Sinem’s nail wraps every time. Remember:
Use a silicone cuticle pusher for a smooth application.
If bubbles appear, gently pull up the wrap and reapply before it sets.
Stick to the same brand for your wraps and top coat, or test for compatibility.
Skip the base coat—our wraps are designed to be safe and effective without one.

We hope these tips help you enjoy your Sweet Sinem wraps to the fullest! If you have any questions or need further advice, don’t hesitate to reach out to us. And if you haven’t tried our nail wraps yet, what are you waiting for? Discover the difference that quality and compatibility can make in your manicure routine.
Shop our collection now and say goodbye to bubbles and creases for good!


Comentarios